Learn more

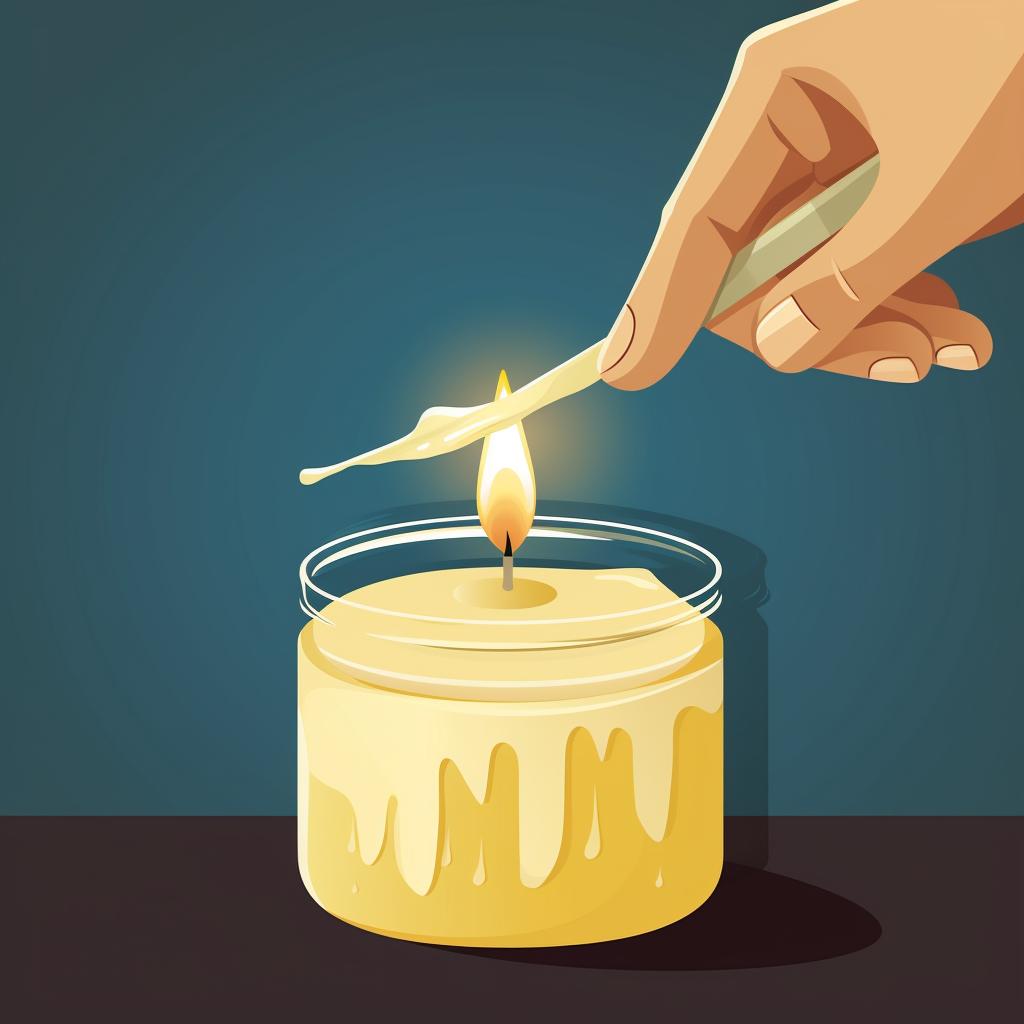
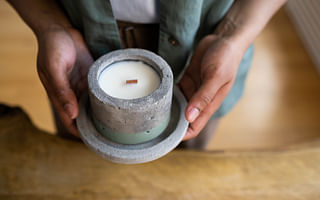
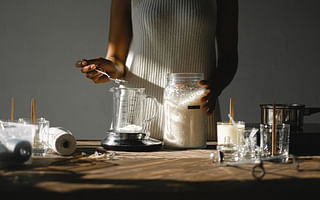
Discover the art of candle making with Candle Fairy. Whether you're a beginner or an experienced candle maker, Candle Fairy has everything you need to create beautiful and fragrant candles. From soy wax candles to beeswax candles, our step-by-step guides will help you master the craft.
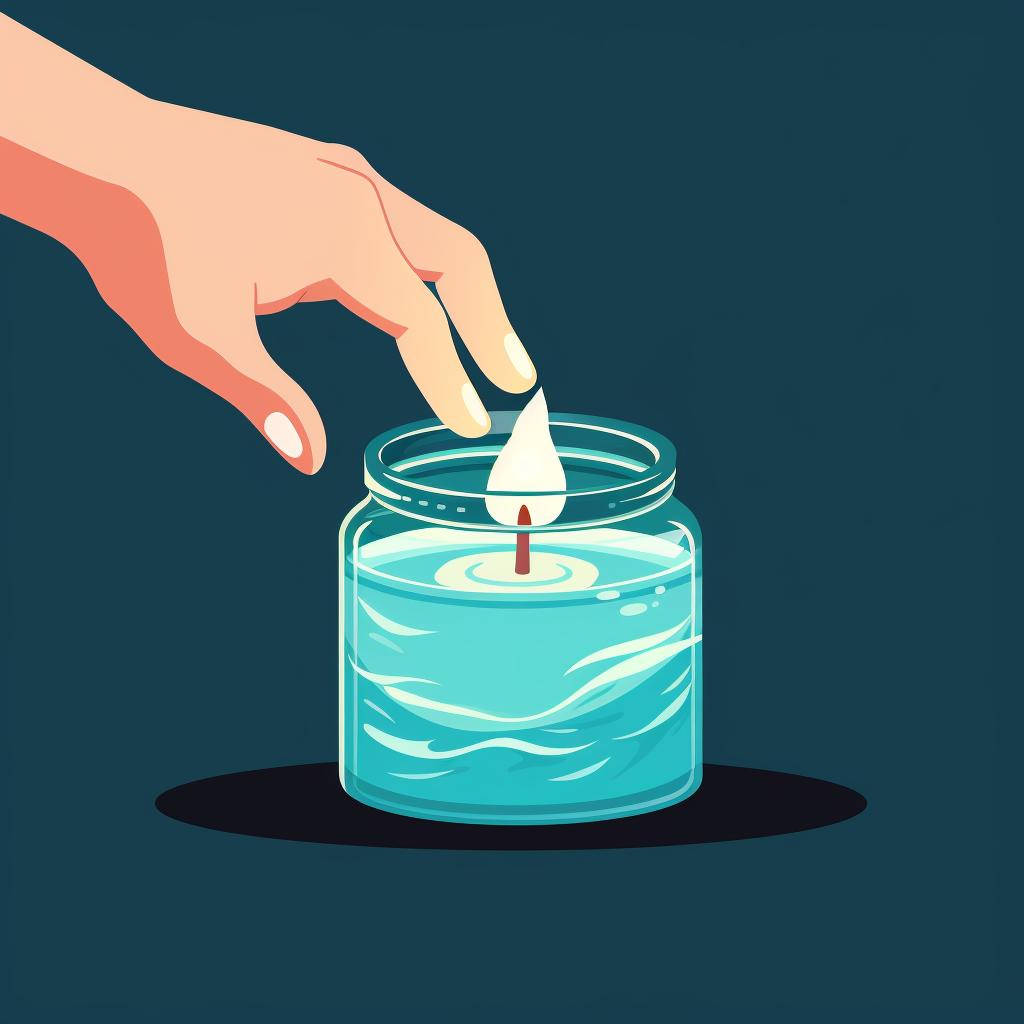
One of our popular guides is "Freezing Your Way to a Wax-Free Candle Jar." If you've ever struggled with removing leftover wax from a candle jar, this guide is for you. Follow these simple steps to easily clean and reuse your candle jars.
Step 1: Empty the Candle Jar
Before freezing, it's important to remove any leftover candle wicks or debris from the jar. A clean jar will ensure better results.
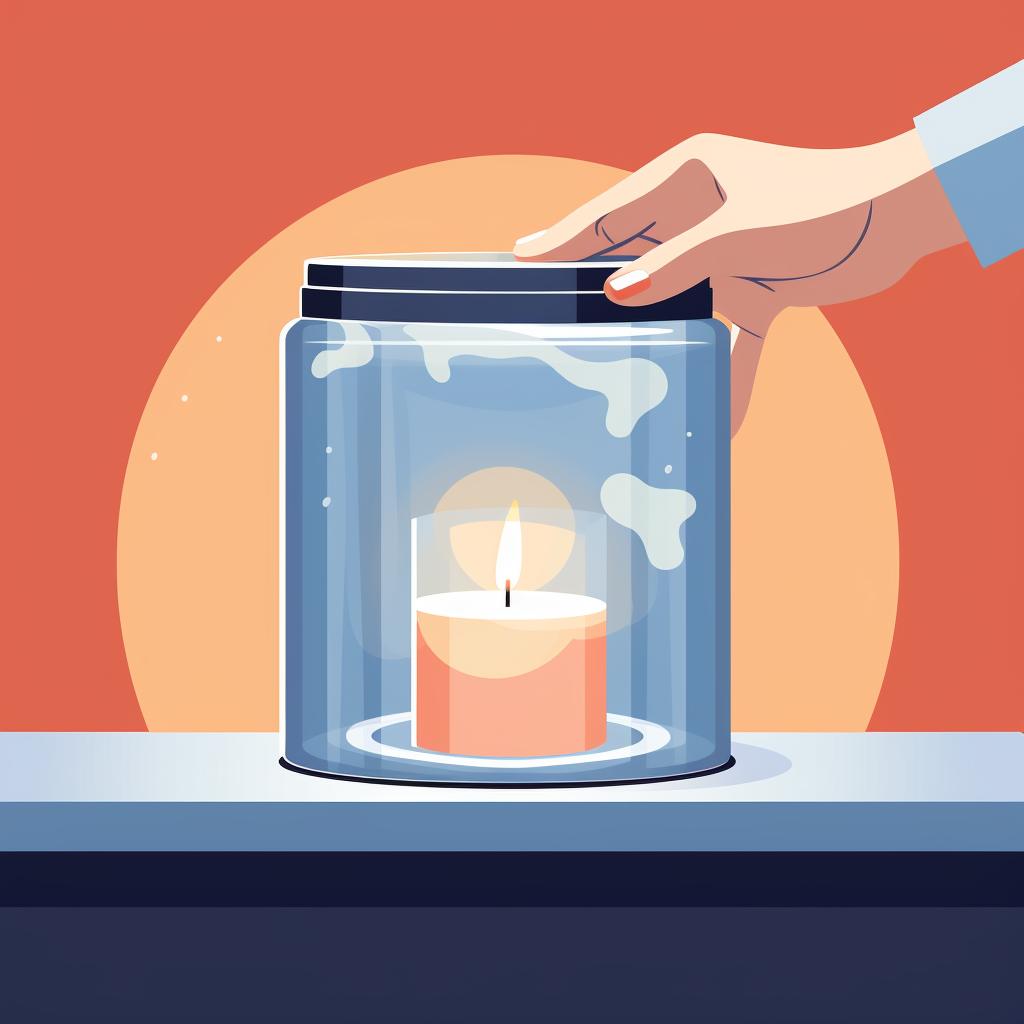
Step 2: Place the Jar in the Freezer
Next, place your candle jar in the freezer, making sure it's standing upright to avoid any mess. Leave it in the freezer for a few hours, or until the wax is completely frozen. Freezing the wax will cause it to contract and pull away from the sides of the jar.
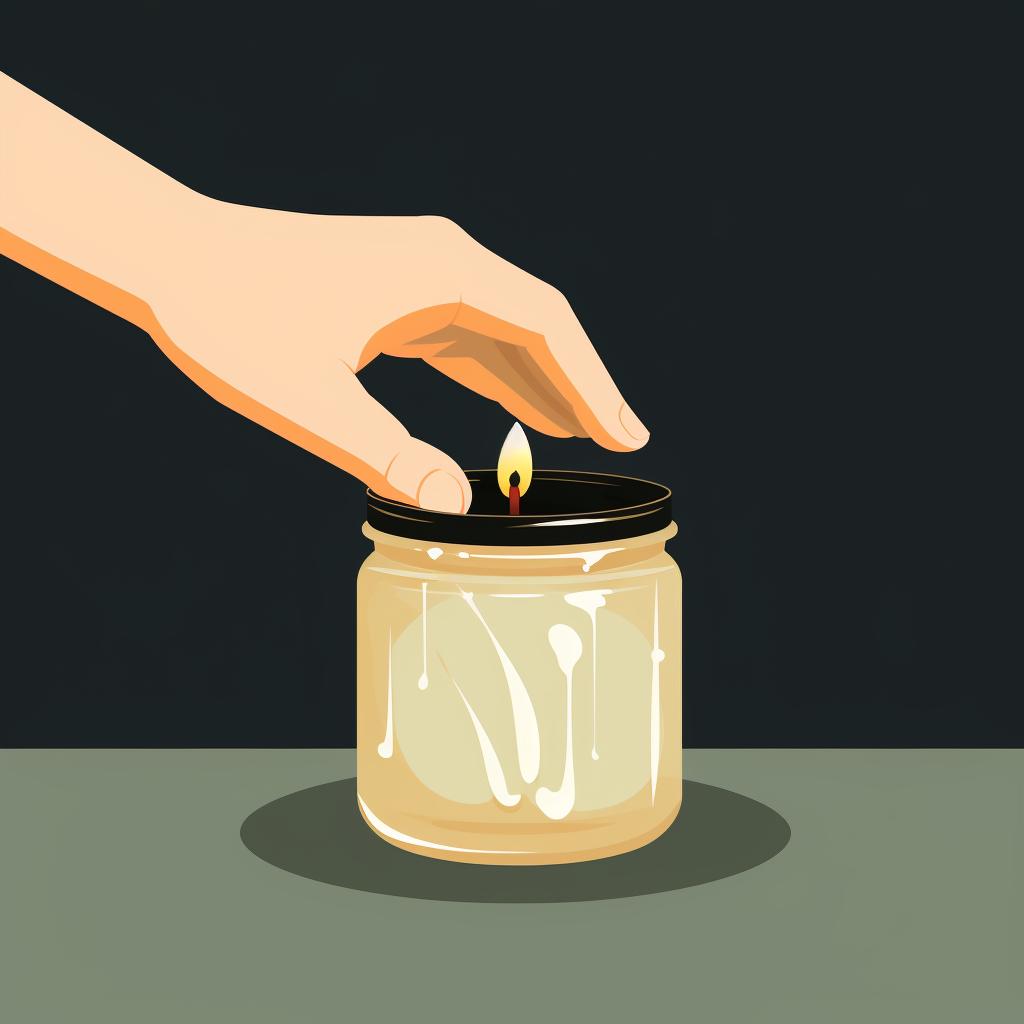
Step 3: Remove the Jar and Wax
Once the wax is frozen, take the jar out of the freezer. You'll notice that the wax has pulled away from the sides, making it easy to remove. Use a butter knife or a similar tool to gently pry out the frozen wax. Be careful not to damage the jar.
Step 4: Clean the Jar
After removing the wax, there may be some residue left. Clean the jar with warm soapy water to remove any remaining wax or soot. Make sure to dry it thoroughly before reusing.
By following these simple steps, you can easily clean and reuse your candle jars, saving both money and the environment. Candle Fairy is here to guide you through every step of the candle making process. Whether you're looking for beginner-friendly tutorials or advanced techniques, we have the resources you need.
Don't miss out on the opportunity to learn the art of candle making. Join our candle making classes and workshops to enhance your skills and meet fellow candle enthusiasts. With Candle Fairy, you'll discover the joy of creating your own unique candles and filling your space with beautiful scents.
Start your candle making journey today with Candle Fairy. Visit our website to explore our guides, classes, and more. Let your creativity shine and create candles that will bring warmth and ambiance to any space.
All Rights Reserved © 2025